How to Assemble Your First PC — Step by Step
A beginner-friendly build guide covering the exact order of installation, safe handling tips, static
protection,
cable management basics, and first boot checks — so your first build is smooth and stress-free.
Before you start: Work on a clean, flat surface. Touch your metal case or PSU frame
periodically to discharge static.
Handle PCBs (motherboard, GPU, RAM) by the edges. Keep screws in a small tray or cup.
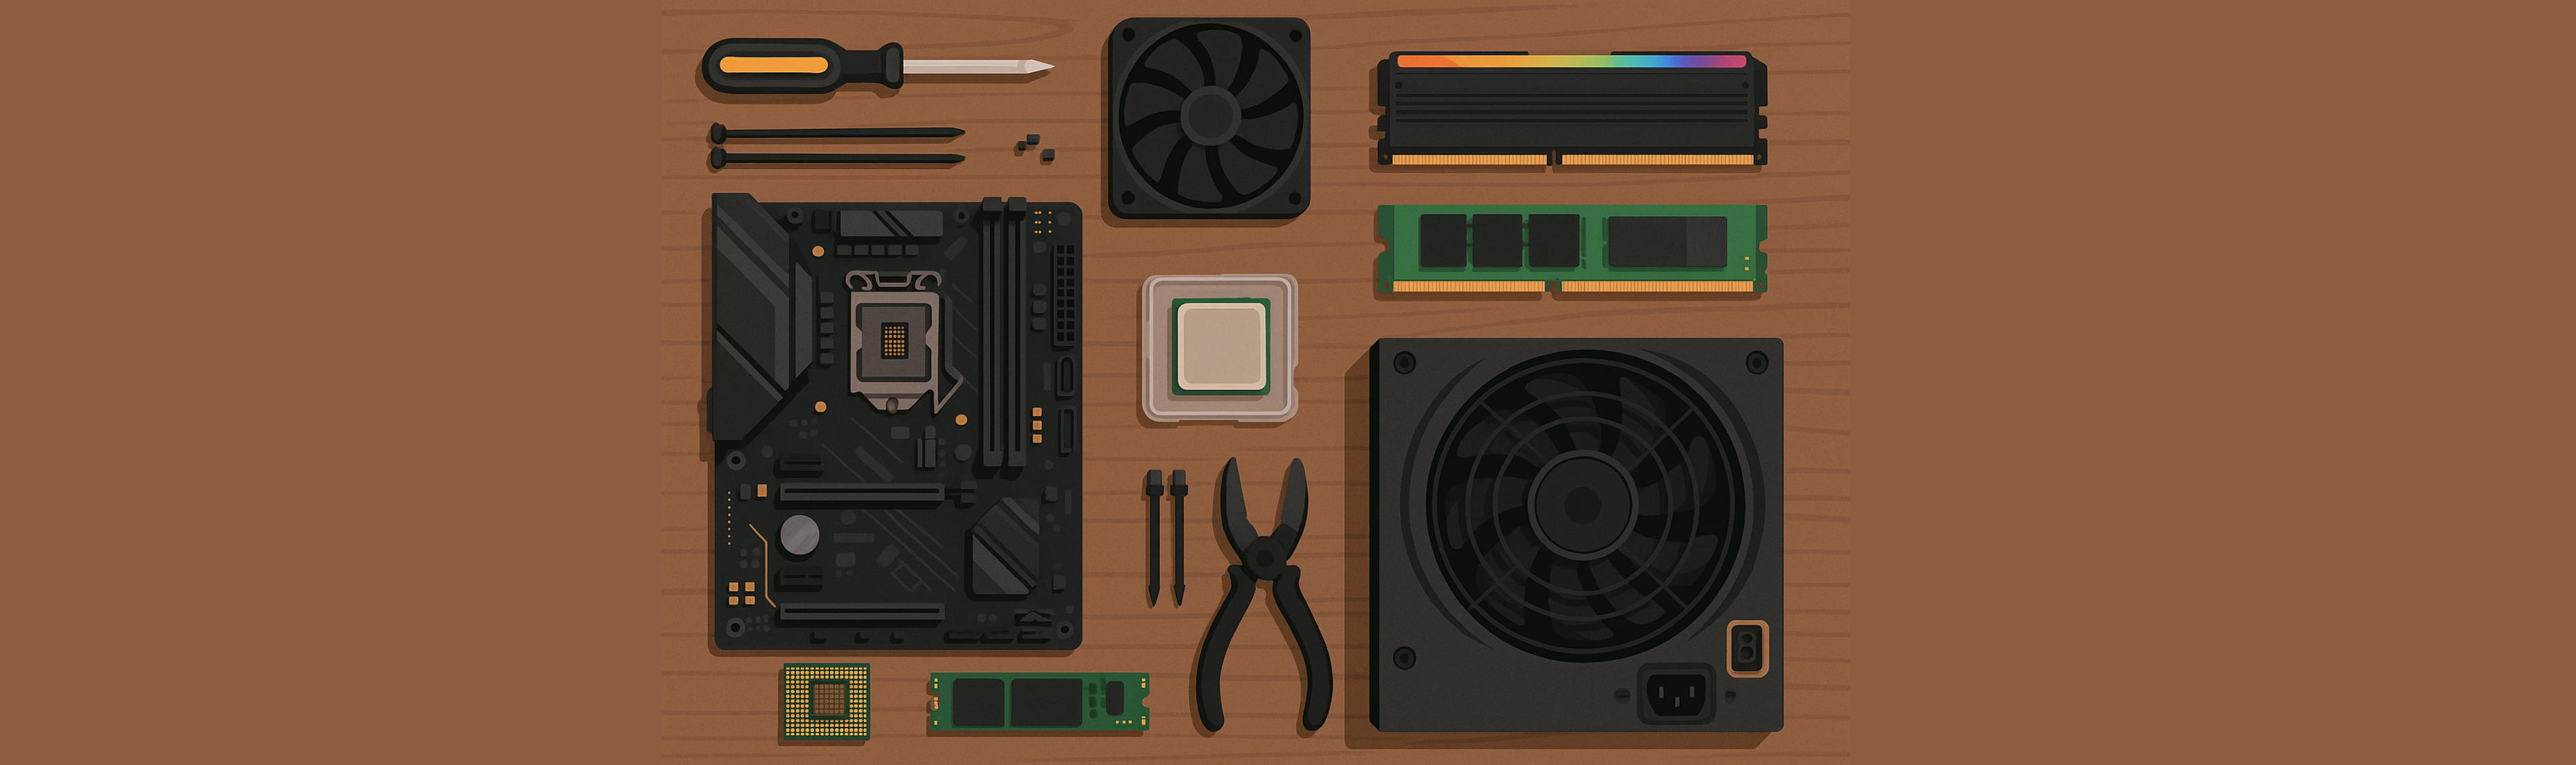
Tools: #2 Phillips screwdriver, zip ties/Velcro straps, isopropyl wipes or microfiber,
thermal paste (if cooler isn’t pre-applied).
In short: Build outside the case first (CPU, RAM, NVMe), prep the case, mount the board,
wire PSU and headers,
install the cooler, storage, and GPU, then tidy cables. Enable XMP/EXPO, set boot order, install drivers,
and check temps.
Simple, methodical steps = a smooth first-boot.
Still choosing parts? Pair this guide with our value-focused picks by budget and use-case.
👉 Read the Buying Guide First